
As the social media manager of Ooligan Press, I use Hootsuite (a platform for managing social media) to maintain our bulk uploads. Instead of scheduling posts one by one to go out on a later date—or worse, posting everything live—bulk uploads are helpful because you’re able to schedule an infinite number of posts in one go. At Ooligan, we have a bulk upload template in Google Sheets that every team fills out; it includes an awareness, preorder, launch, and sustaining phase for Twitter, Facebook, and Instagram. Each sheet is clearly labeled, so it’s easy to see what team you’re scheduling for and what platform each group of posts has been written for. This bulk upload sheet is then downloaded into a CSV in Microsoft Excel, and after some editing, this Excel doc is downloaded into Hootsuite. Below is a step-by-step version of how this process works.
- Start off in Google Sheets and click File>Download as>Comma-Separated Values.
- Minimize the internet and open the CSV.
- Erase everything in Column C and beyond, so there’s only content in the first two columns.
- The numbers in Column A will probably look like this: ####. Just double click the boxes as if you were going to type something, and that will convert all of them to numbers. Clicking on one or two boxes will change them all.
- Hover over Column A. When your mouse turns into a downward arrow, click to highlight the whole column. Hit Command 1 (or Format>Cells).
- Double-check that it’s in number formatting on the top left. On the bottom of the side panel, click “Custom,” scroll until you see “m/d/yy h:mm,” and change it to “mm/dd/yyyy hh:mm.”
- Save your spreadsheet to a location other than the Downloads folder to avoid confusion. (I keep a CSV folder for all these Excel bulk uploads.) After saving, click “Continue” on the pop-up.
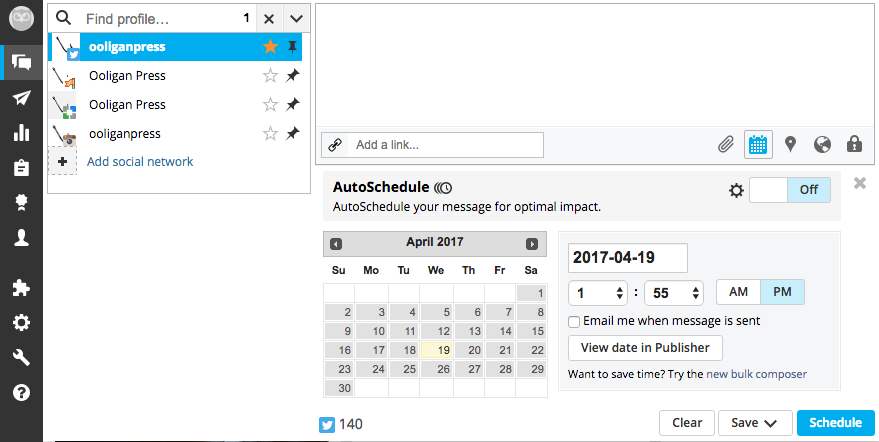
- Open Hootsuite. Under “Compose Message,” hit the calendar icon (scheduling) and click on the “New Bulk Composer” hyperlink at the bottom.
- Click “Select File to Upload” and upload your saved spreadsheet. Select the platform (network) and click “Review Messages.”
- At this point, you will find out if any of your messages have an issue, so now is the time to troubleshoot. Most problems occur when posts are too long for Twitter, but there are a variety of issues—each requiring a little investigating.
- Remember that if there are any symbols (mainly apostrophes or em dashes) in your post, they will show up as weird letters and you’ll have to manually change them back. Scan every post before you schedule them, just in case. (For Mac users, you can create an em dash by holding down “Option+Shift+hyphen key.”)
- If your post has images (and most will), you’ll need to upload them now. Hootsuite is currently not capable of uploading images along with everything else in the spreadsheet, which is why you deleted the other columns. Go to your Google Sheet and check out Column C. Follow the link to the image and download it.
- On Hootsuite, go to the post and double-check that you have the right image. Under “Media,” click the “Select an Image to Upload” box. Go to your Downloads folder (or wherever you saved the image) and upload it. DO NOT click onto the next message until the picture has uploaded, as this will stop the upload. Repeat this for every post that has an image.